
Clipboard History on Windows 10
Clipboard history is an awesome tool that can increase your productivity and make tedious tasks slightly less aggravating.
Enabling your clipboard history is easy! You can either start by going into windows settings or by pressing [ Windows key + V ].
If you hit [ Windows Key + V ] you will see the following pop. Click on the “Turn On” button to be taken to the setting where you can enable this.

Click Here to scroll to the next step.
If you are navigating to the settings manually follow the coming steps to get to the correct area.
1 – Type “settings” into the windows search bar
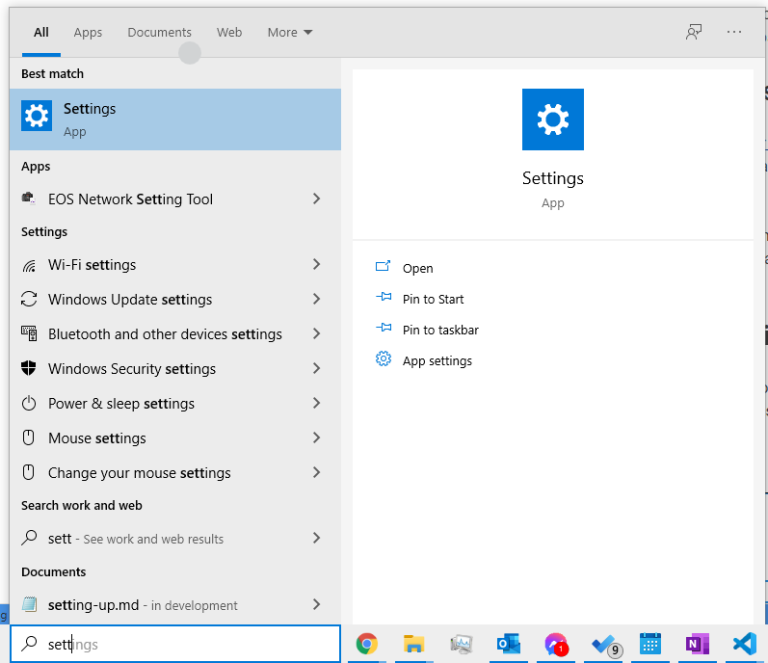
2 – Select the “System” category

3 – Scroll down until you see “Clipboard” and select it
Next under “Clipboard history” toggle the option to the one position (Shown below)

That’s it! You’re good to start using your clipboard history now! Simply hit [ Windows Key + V ] and a popup (shown below) with show you all of the things you’ve recently copied! Even photos and screen grabs will show up in the history.
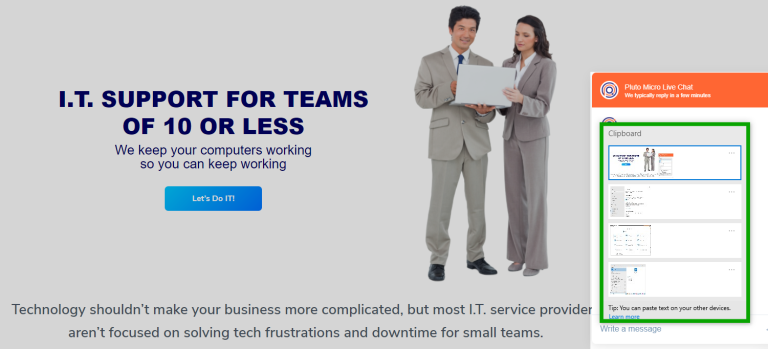
Now anytime you copy something and need to refer back to it later you can. The clipboard will be cleared whenever the computer restarts, but I wouldn’t rely on this if you have something that you would like to always have available or for an extended period of time you can “pin” (shown below) it and it will always be at the bottom of the history.

DON’T PIN YOUR PASSWORDS IN HERE! I know that some people will think that’d be nice and some people will still do it anyways, but the clipboard is stored in plain text. If you want your passwords to fill in easier we recommend a password manager!